Adding a skylight to your home is one of those upgrades that completely changes the feel of a room. It’s more than just a window in the roof; it’s about pulling in that natural light which makes a cramped space feel open and airy. Whether you’re looking to cut down on your electric bill by using less artificial light or you want to see the stars from your living room, the benefits are huge.
But let’s be real, cutting a hole in your roof is a big deal. It’s structural, it’s technical, and it’s got to be done right to keep the rain out. Understanding the professional skylight installation journey is the best way to make sure you’re ready for the project.
When you decide to go for it, the process isn’t just about the day the crew shows up. Especially here in the USA, where our roofs have to survive everything from summer heatwaves to heavy winter snow, the quality of the work is everything. You don’t want a “handyman special” when it comes to your roof. You want a team that knows exactly how to seal that unit so it stays bone-dry for decades.
The Pre-Game: Assessment and Choice
Before a single shingle is pulled back, we have to do our homework. A pro won’t just eyeball a spot on the ceiling and start cutting. We have to get up to the attic. We’re looking for the hidden stuff, wiring that runs to your ceiling fans, plumbing vents, or even HVAC ducts that might be right in the way. We also have to check your roof’s pitch (the slope) and see what kind of shingles or metal we’re working with.
Finding Your Perfect Match
In the US market, you’ve got three main ways to go:
Fixed Skylights: These are the classics. They don’t open; they just let the light in. They’re super reliable and usually the most budget-friendly.
Vented Skylights: These are great for kitchens or bathrooms. You can open them up to let steam or cooking smells out. They work on a “stack effect” where the hot air rises and escapes through the top.
Solar-Powered Units: These are becoming really popular. They use a small solar panel to open and close the sash or the blinds. Often, these can even qualify you for some cool federal tax credits.
Getting the House Ready
Once we’ve got a plan, we have to prepare the site. On the inside, you’ll want to move your furniture out of the “drop zone.” Even the cleanest crew is going to create some drywall dust when they cut into that ceiling. We’ll lay down heavy drop cloths, but it’s always easier to have the space clear. On the outside, we’re setting up ladders and making sure the area is safe for the guys to work.
Walking Through the Skylight Installation Steps
This is where the real action happens. We start by marking the spot on both the inside and the outside. If those marks don’t line up perfectly, you’ve got a problem. Once we’re 100% sure, we start the rough opening.
1. The Big Cut
We usually work from the inside out first. We cut through the drywall to expose the rafters. Then, we move to the roof, strip back the shingles, and cut through the roof deck. This is the part that makes homeowners nervous, but in the hands of a pro, it’s just another day at the office. We aren’t just making a hole; we’re prepping the area to be part of the roof’s structure again.
2. Framing and Support
In most American homes, your roof rafters are spaced out specifically. If your skylight is wider than that space, we have to cut a rafter. This is where the “headers” come in. We build a frame that transfers the weight of the roof to the surrounding rafters. This ensures your roof stays strong and doesn’t sag over the next twenty years. This part of the Skylight installation steps is what separates the pros from the amateurs.
3. Setting the Unit
Now it’s time to put the glass in. You’ll hear us talk about “deck-mounted” versus “curb-mounted.”
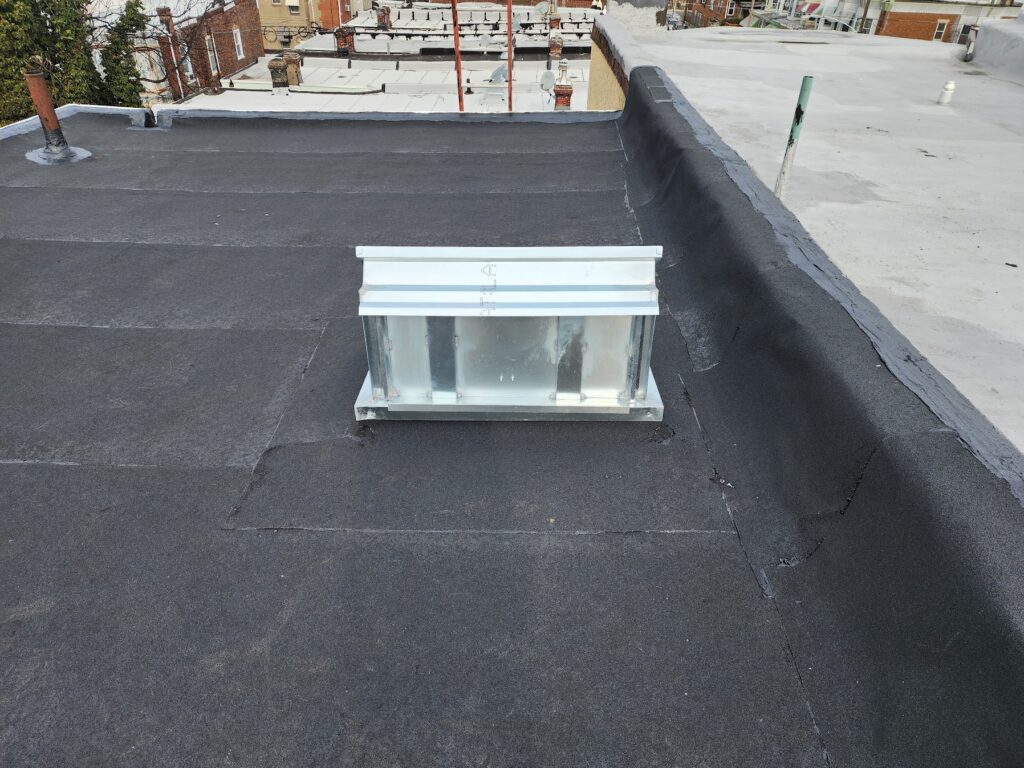
Deck-mounted units sit right on the roof deck. They look sleek and low-profile.
Curb-mounted units sit on a little wooden “box” (the curb) we build around the hole. These are awesome for flat roofs or areas with massive snow piles because they lift the window up away from the standing water.
The Most Important Part: Making It Waterproof
If you ever hear someone, say their skylight leaked, it’s almost always because the flashing was done wrong. The glass itself is usually fine; it’s the seal around the glass that matters. This is the heart of the Skylight installation process.
The Seal: We wrap the unit in a thick, sticky membrane called “ice and water shield.” This stuff is like a giant band-aid that seals the gap between the window and your roof deck.
The Flashing: We use metal steps that tuck under your shingles. Think of it like a deck of cards; the water should always run over the top of one piece and onto the next until it’s back on the shingles and heading for the gutters.
Finishing the Roof: We weave the shingles back in so the whole thing looks like it was always meant to be there.
Building the Light Shaft
If you have an attic, the light has to travel from the roof down to your ceiling. We build what’s called a “light shaft.” This is essentially a tunnel made of wood and drywall.
Pro Tip: If you flare the shaft (make it wider at the bottom than it is at the top), you get way more light spread throughout the room. Once the shaft is framed, we hang the drywall, tape the corners, and mud it. It usually takes a couple of days to get it smooth because the mud has to dry between coats. Then, we sand it down and give it a fresh coat of bright white paint to bounce that sunlight around.
When You Just Need a Repair
Maybe you already have a skylight, but it’s giving you trouble. Maybe there’s a draft or a little drip during a thunderstorm. We don’t always have to replace the whole thing.
Common Fixes
Gasket Fatigue: Sometimes the rubber seals around the glass get old and brittle from the sun. We can often replace those.
Flashing Failure: If the original installer took shortcuts, we can strip the shingles back and redo the flashing correctly.
Cracked Domes: On older acrylic skylights, the plastic can get brittle and crack. Usually, at that point, it’s better to swap it out for a modern glass unit.
If your unit is more than 15 to 20 years old, a repair might be a “band-aid.” Modern glass is so much better at keeping heat in and UV rays out (so your rugs don’t fade) that a replacement is often the smarter financial move in the long run.
The Tech Inside the Glass
We live in a world where glass isn’t just glass anymore. In the USA, we deal with some wild temperature swings. You want glass that has a “Low-E” coating. This is a microscopically thin layer that reflects heat to the source. In the summer, it keeps the sun’s heat outside. In the winter, it keeps the furnace’s heat inside. Most of our units are also filled with Argon gas between the panes, which acts as a super-insulator.
Why You Shouldn’t DIY This One
Look, we love a good weekend project as much as anyone, but cutting into your roof isn’t the place to experiment. A professional team knows the “gotchas.” We know how to handle different roofing materials like tile or metal. We know how to make sure the “weep holes” (tiny holes that let condensation out) aren’t blocked.
Plus, when you hire a pro like Discounted Roofing LLC, you get a warranty. If a massive storm hits and something isn’t right, you’ve got someone to call who will fix it for free.
Keeping Your Skylight Happy
Once the crew leaves, you don’t have to do much. But once a year, maybe in the fall, it’s a good idea to take a look.
1. Clear the Debris: If leaves or branches pile up at the top of the skylight, they can trap water. Just brush them away.
2. Clean the Glass: Use a regular glass cleaner on the inside. On the outside, many units have “neat” glass that uses the sun to break down dirt, so the rain washes it away.
3. Check the Vents: If you have a vented unit, make sure the screen is clear of dust so you get good airflow.
Final Thoughts
A skylight is one of the best investments you can make for your home’s vibe. It changes the way you live in your house. By doing it the right way (with the right framing, the right flashing, and the right glass), you’re adding value to your property and brightness to your life. When the job is done by people who know American building standards inside and out, you get to sit back and enjoy the view.
The main goal of any professional skylight installation is to let in light and air while keeping the weather out. It’s not just about the building itself; it’s also about the peace of mind that comes from knowing your home is safe from the unpredictable weather in the US.
You’ll know the money was well spent when you see the first beam of morning light hit your kitchen floor or watch the rain roll off the glass while you stay dry inside. These extra steps will make sure that your new feature stays a source of joy for many years to come, instead of a source of maintenance problems.
Frequently Asked Questions
1. Why is a post-storm roof inspection necessary?
Severe weather can create hidden issues such as hairline cracks, lifted shingles, or weakened seals. A professional inspection helps catch these problems early before they turn into major leaks, structural damage, or mold growth inside the home.
2. What are the common signs of storm damage?
Look for missing, curled, or damaged shingles, as well as granule buildup in gutters and dented roof vents. Inside the home, warning signs include ceiling water stains, damp insulation, and peeling paint near roof edges.
3. Does the company offer emergency storm services?
Yes. Emergency roofing support is available 24/7 for urgent issues such as active leaks or structural damage. Temporary protective tarps can be installed quickly to prevent further water intrusion until permanent repairs are completed.
4. How does the company assist with insurance claims?
The team provides detailed inspection reports, photos, and documentation to support claims. They can also communicate with insurance adjusters to ensure all storm-related damage is properly recorded and fairly evaluated.
5. How soon should I schedule an inspection?
Inspections should be scheduled as soon as it is safe after a storm. Acting quickly helps meet insurance deadlines and prevents secondary damage such as interior leaks, mold, or insulation deterioration.